Warning
This page is under construction
About Governance and Approval of Changes
To update the specification, the sub community or architecture community will need to approve content changes. Updates to links and / or wording can be made as desired. To get content changes approved, please bring the desired change to the Architecture Community meeting.
Purpose
This guide is a walk-through to edit/add/delete content within the OpenHIE specification.
Additionally this process is for manually updating content already on GitBook. For adding multiple documents, pages...etc, the appropriate method of doing so would be to import the content or through using GitHub. This process will be detailed at a later date.
To view these documents on GitHub, visit the OpenHIE repository: https://github.com/openhie/openhie-specification
Editing Architecture Specification using GitBook
- Go to https://app.gitbook.com/to edit specification documents
- Sign-in to your account and make sure you're on the OpenHIE page. If you do not have access to edit GitBook, contact the architecture community who will work with Doug Trefun for support.
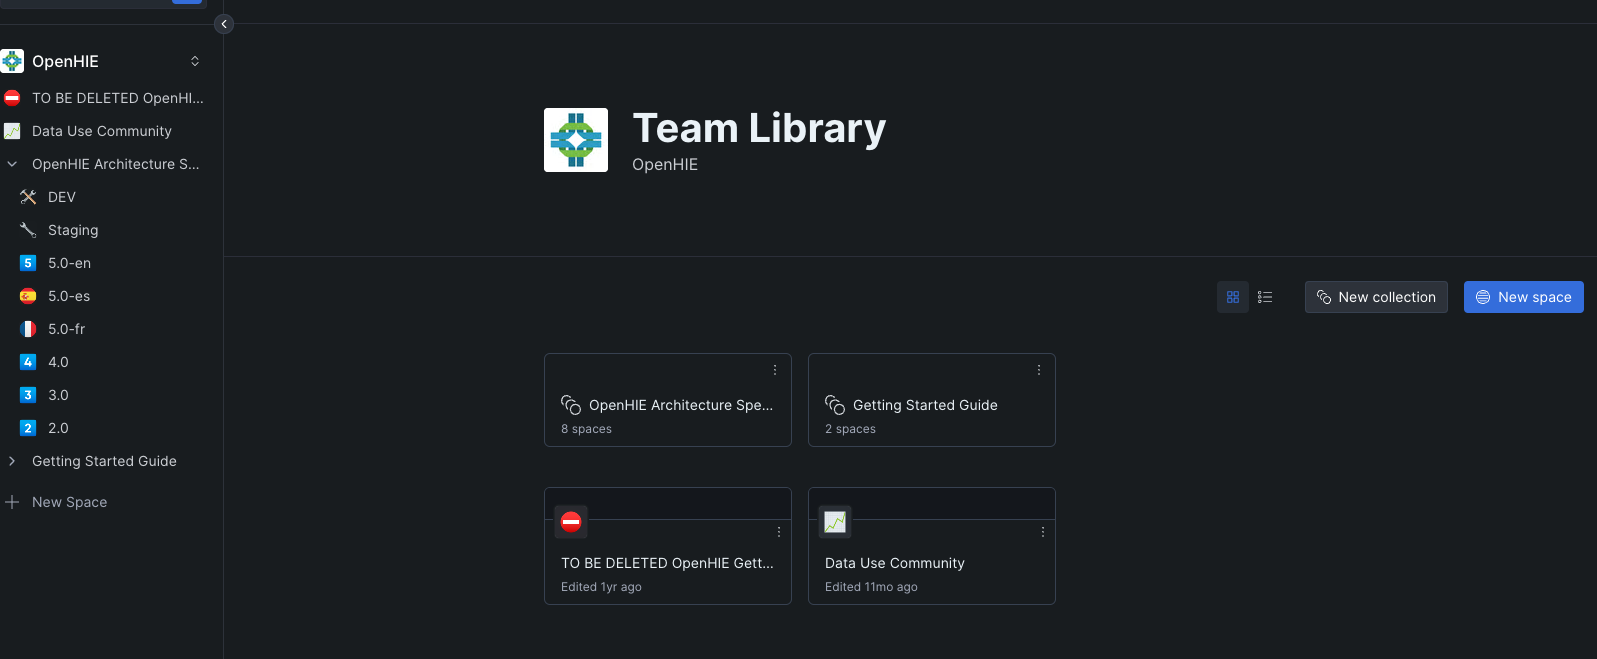
- Expand the OpenHIE Architecture section on the left. This will reveal several versions of the specification, including translations and previous versions.
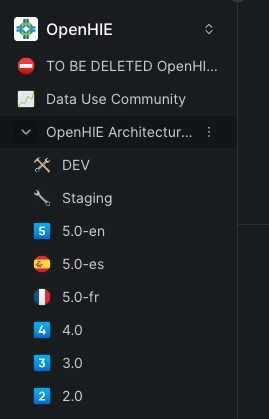
- Choose which version you want to edit (5.0-en, 5.0-es...etc). Previous versions should not be updated.
- Once you click on the version you want to edit, the document will be viewable in the middle of the screen. Click
 to make changes to the document.
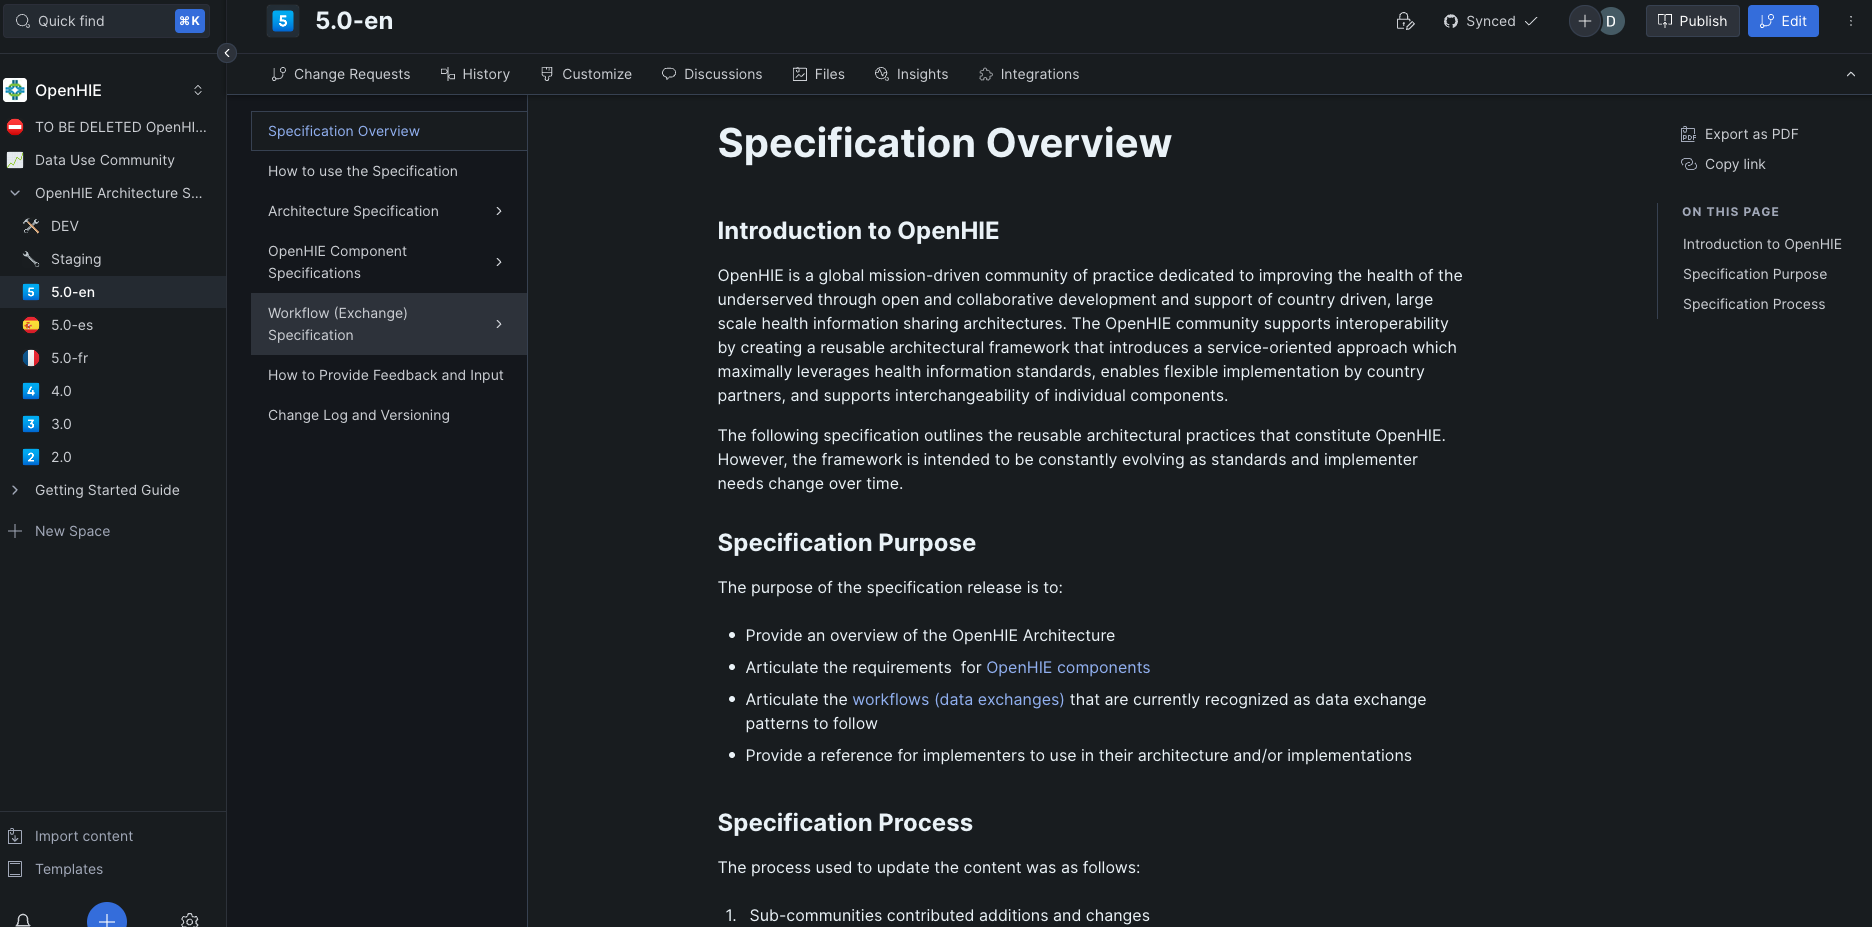
- Navigate to whatever section you want to edit and make desired changes. Once done with edits click the "Merge" button located in the bottom right of the screen.

Note: if you do not wish to save any changes, or need to start over, click the "X" button to cancel out of edit mode and lose any changes made. - Once the "Merge" button is clicked, the document is now "saved" and will be live on the specification site. There is no need to click "Publish". That is only for creating new pages.
Adding Images,
The process for adding images into a GitBook document are very similar to editing or adding to a document.
- Choose a document/space that you want to edit and click the blue "Edit" button in the top right hand corner of the screen.
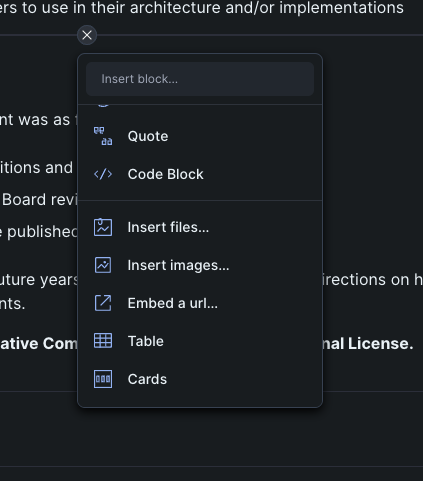
- Hover over section with your mouse and look for a circular "+" to appear.
- Click the "+" and several options will be available to choose from in a drop-down menu.

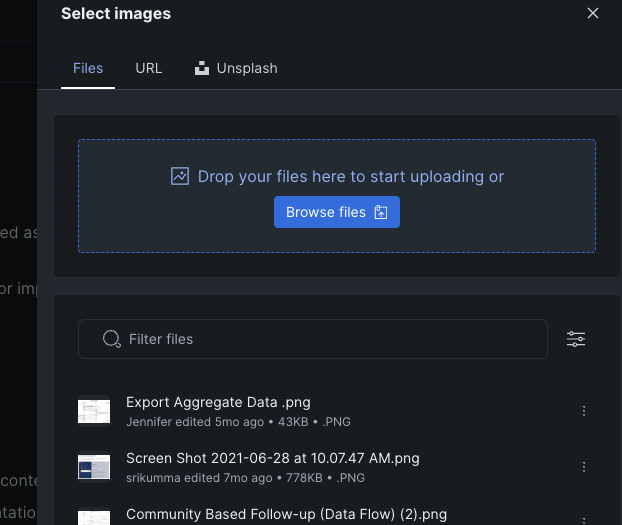
- Scroll down through the list of options and choose "Insert images.."
- Choose option for adding image files
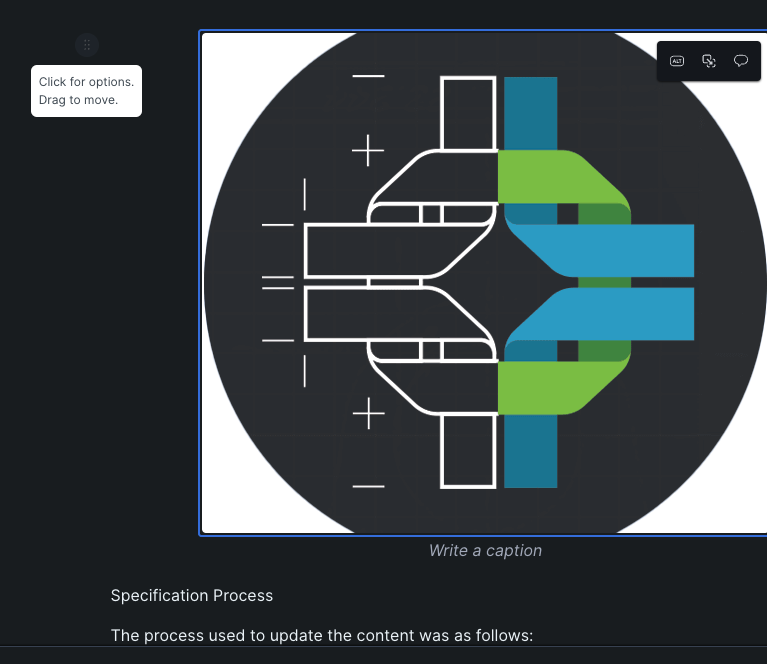
- Once the image is inserted onto the page, you can make changes by hovering over the image with your mouse and clicking on the
 . This will reveal more options such as deleting, alignment and adding more images. To move the image you would also click and drag from that button as well.